

How to Record a Timelapse of Your Creative Work on Mac
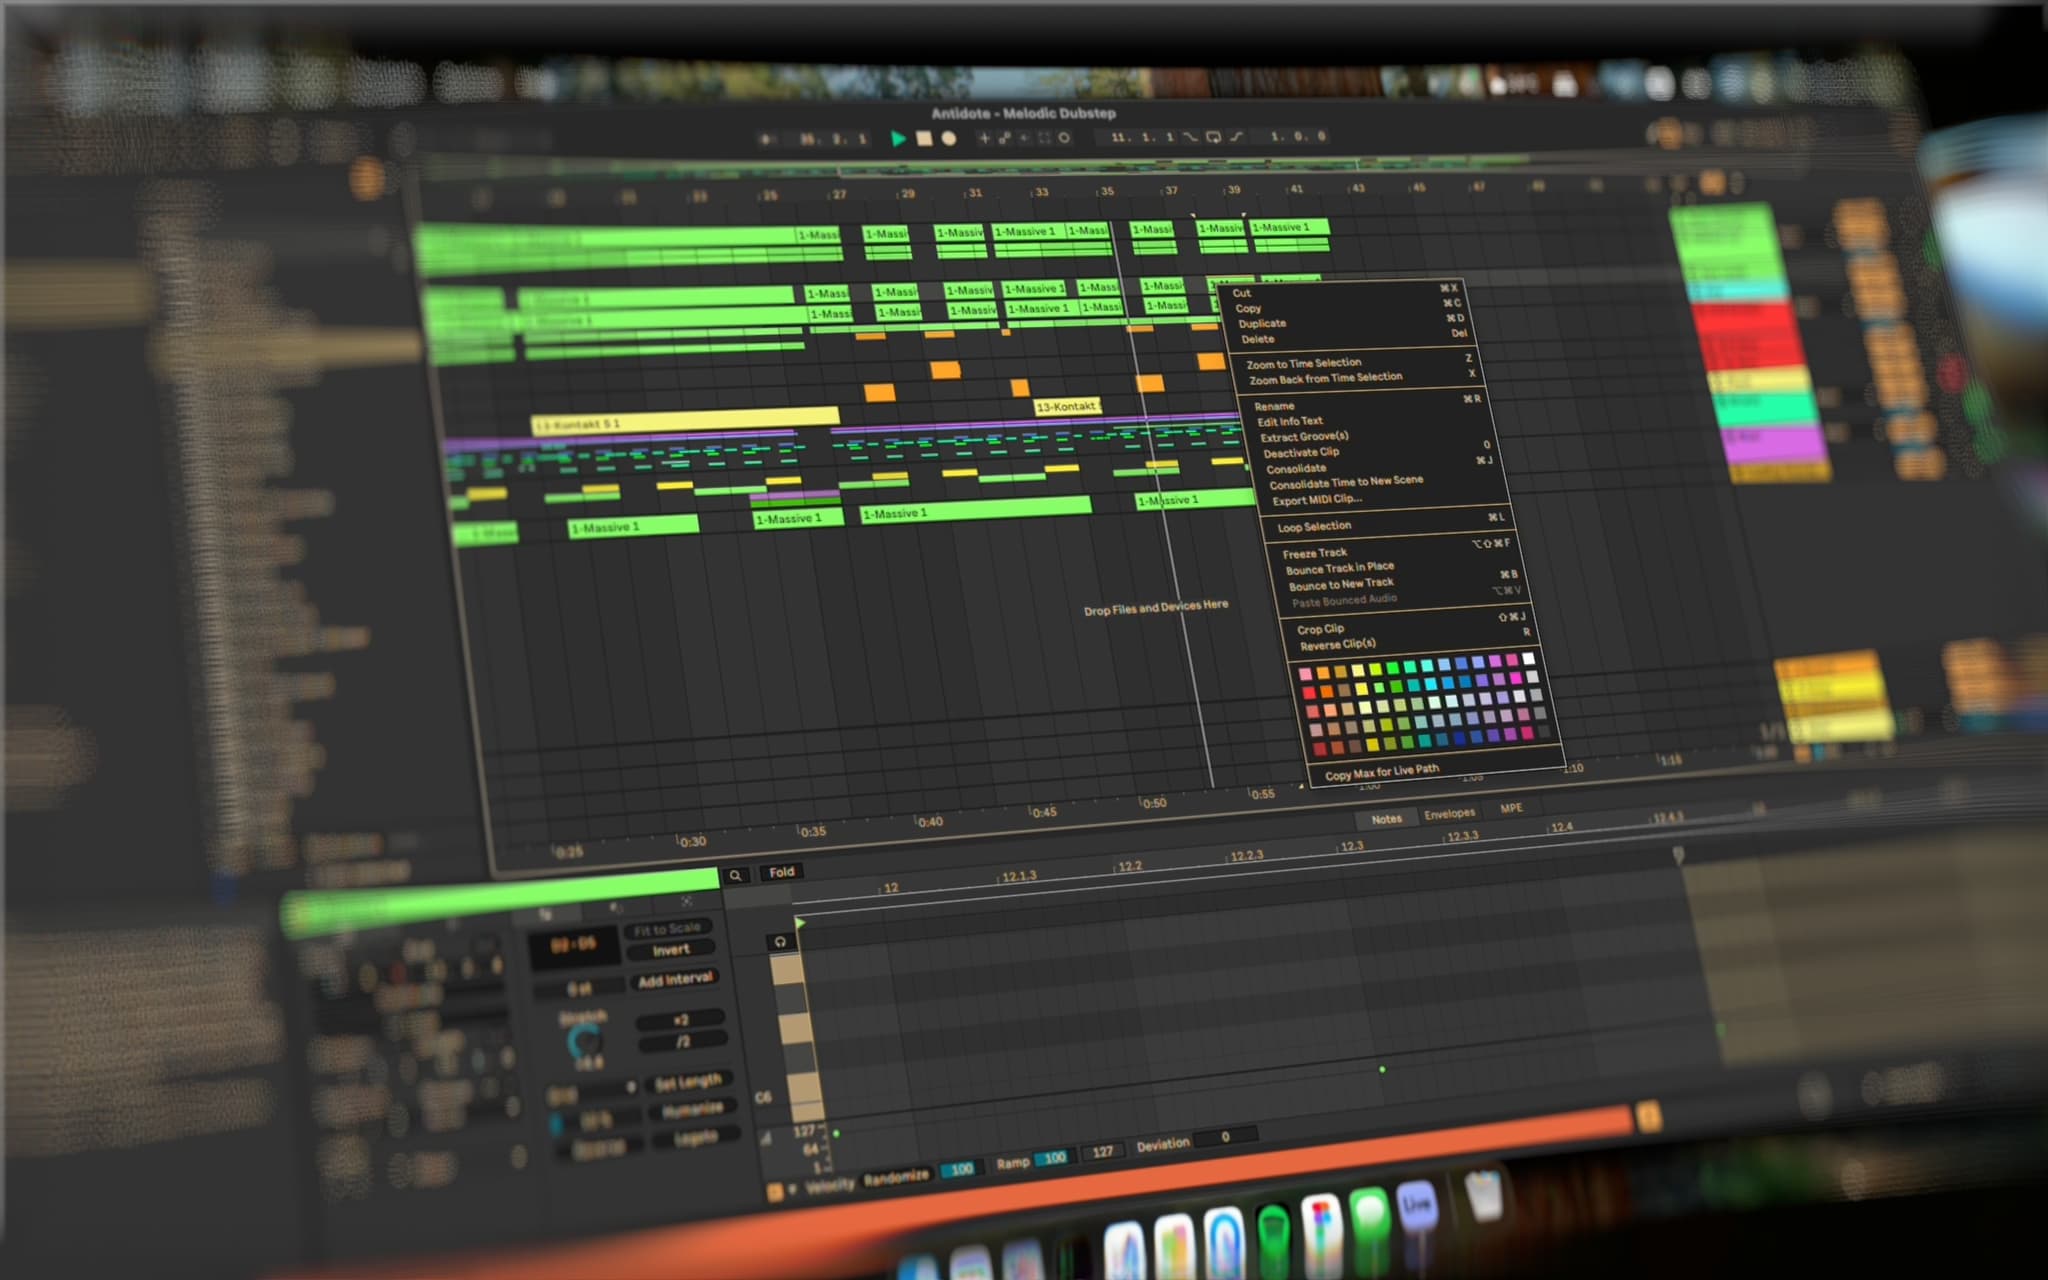
There's something mesmerizing about watching hours of creative work compressed into sixty seconds. A blank canvas becomes a finished illustration, an empty file becomes a working app, a rough sketch becomes a polished design. Timelapses turn the invisible middle of your process into something people actually want to watch — and on a Mac, recording them is easier than you might think.
This guide walks through everything you need to capture a great timelapse of your work session, from choosing a capture interval to exporting a clip that's ready for social media.
Why timelapses beat raw screen recordings
A raw screen recording of a four-hour design session is a four-hour video. Nobody watches that — including you. It's also enormous: hours of full-resolution screen capture can easily eat tens of gigabytes.
A timelapse solves both problems at once. By capturing frames at an interval instead of continuously, you get:
- Watchable length. A full afternoon of work becomes a 30–90 second clip — exactly the length that performs well on social platforms.
- Tiny file sizes. Capturing a frame every second or two instead of 60 frames per second means dramatically smaller recordings, even for all-day sessions.
- The satisfying reveal. Sped-up footage shows progress in a way real-time video never can. Viewers see the arc of the work, not the pauses and dead ends.
Step 1: Choose your capture interval
The capture interval is how often a frame is saved while you work. Combined with the export frame rate, it determines how fast your final timelapse feels.
A useful rule of thumb:
- Short sessions (under an hour): capture a frame every 1–2 seconds.
- Half-day sessions: every 3–5 seconds.
- All-day marathons: every 5–10 seconds.
Lapser Studio lets you adjust both the capture interval and the export frame rate anywhere from 1 to 120 fps, so you can dial in the exact speed after recording — a slow, cinematic crawl or a rapid-fire montage from the same session.
Step 2: Set up your recording
Good timelapses start before you hit record:
- Clean up your workspace. Close windows you don't want on camera and silence notifications — a timelapse compresses hours into seconds, but a stray notification still lands on screen.
- Pick what to capture. Recording your full screen shows the honest, messy reality of the work. Recording a single app window keeps the focus tight on the canvas, editor, or timeline.
- Add your webcam if you want a human touch. Face cams make process videos feel personal. Lapser Studio records your screen and webcam together — including your iPhone as a webcam via Continuity Camera — and lets you position the overlay wherever you want it.
With Lapser Studio, all of this happens from the menu bar: click the icon, start the session, and get back to work. The icon quietly indicates that a recording is in progress.
Step 3: Don't worry about breaks
Every real work session has idle time — coffee runs, phone calls, staring into the distance thinking. In a timelapse, idle time shows up as long stretches where nothing moves.
Lapser Studio's activity monitor handles this automatically: it pauses the recording while you're inactive and resumes when you're back. Your final timelapse only contains the work, with no manual trimming required. It's also designed to be lightweight, with low CPU usage — so it stays out of your way during long, intensive sessions.
Step 4: Style your timelapse
The difference between "screen recording" and "content" is usually presentation. Before exporting, consider:
- A background. Placing your recording on a backdrop — a solid color, gradient, or wallpaper — instantly makes it feel produced. Lapser Studio ships with 40+ backgrounds, or you can use your own.
- Padding and rounded corners. A little breathing room around the frame with softened corners gives the clip a polished, modern look.
- Scale and position. Zooming the foreground slightly or repositioning it in the frame helps the important part of the screen read clearly, even on a phone.
All of this styling happens directly inside Lapser Studio after recording — no separate video editor needed.
Step 5: Export for where you'll share
Different platforms want different shapes:
- 9:16 vertical for Instagram Reels, TikTok, and YouTube Shorts.
- 16:9 widescreen for YouTube and embedded videos.
- 1:1 square for feeds where it needs to hold its own in scrolling.
Lapser Studio exports from 720p up to 4K in MP4 or MOV, with presets for web, social media, and studio quality, and aspect ratios including 16:9, 9:16, 1:1, 4:3, and 3:4. Record once, export a vertical clip for Reels and a widescreen one for YouTube from the same session.
A note on privacy
Your work-in-progress is sensitive — unreleased designs, client projects, proprietary code. That's worth thinking about before running it through a cloud service.
Lapser Studio processes everything locally on your Mac. No cloud uploads, no account required. Your recordings stay on your device, always.
Start recording your work
The best time to start capturing your process was your last project. The second best time is your next work session.
Lapser Studio is a one-time purchase — a $30 lifetime deal, no subscription — and it's also available on the Mac App Store. Check the changelog to see what's new, install it, and your next session can become your first timelapse.