

Getting Started with Lapser Studio: A Complete Walkthrough
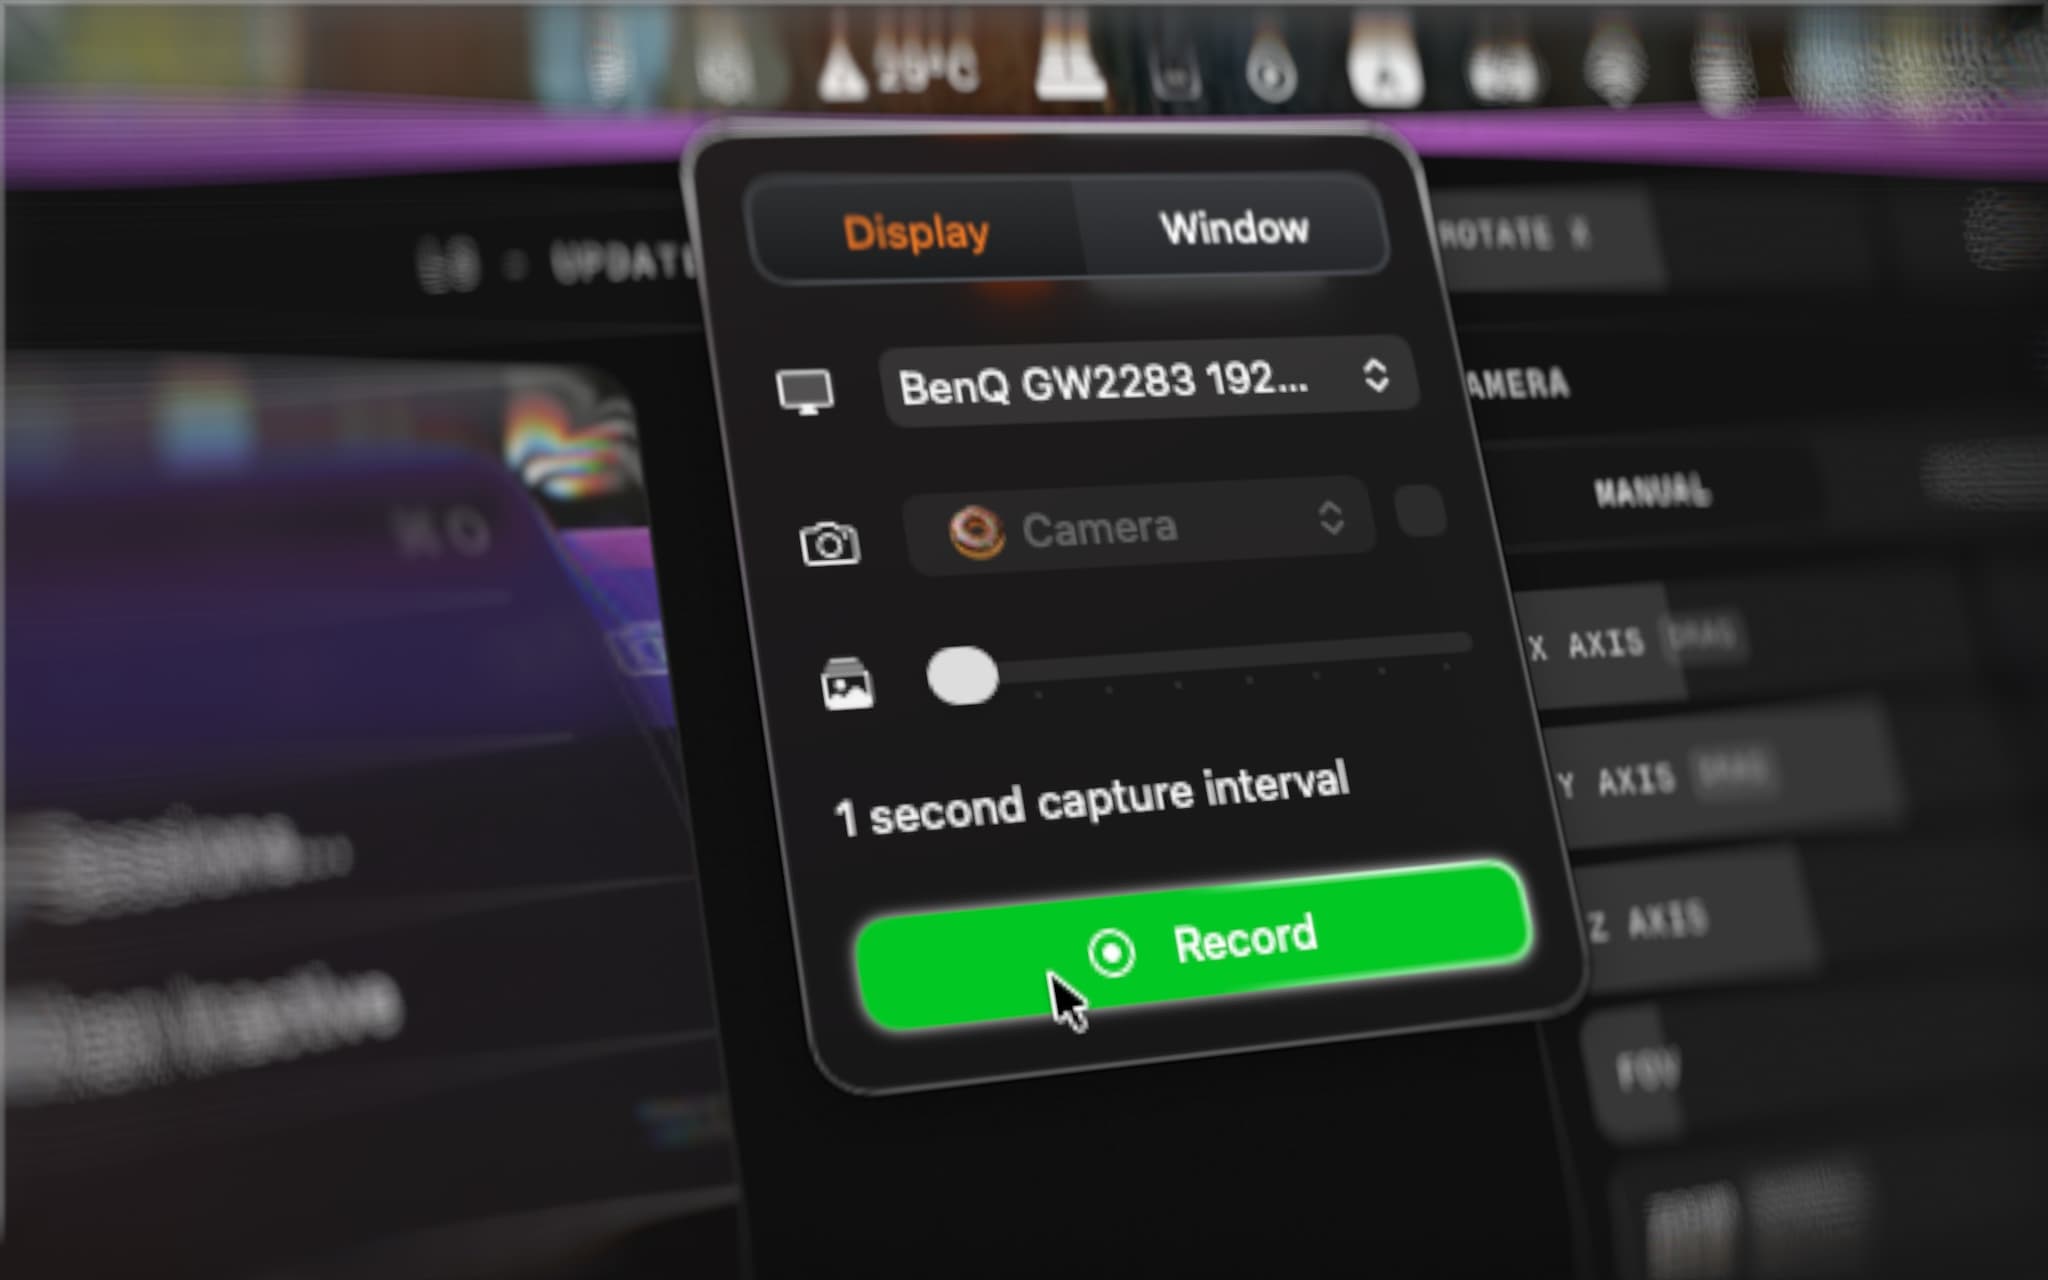
New to Lapser Studio? This guide walks through the entire workflow — from launching the app to exporting your first timelapse — so you can get up and running in a couple of minutes. It follows the video below step by step, so watch along or just read through at your own pace.
Find the menu bar icon
Once you launch Lapser Studio on your Mac, it lives in the menu bar as a small frame icon. The icon appears slashed when you're not recording — that's your at-a-glance signal that nothing is being captured.
Click the icon to open the capture menu.
Choose what to capture
From the menu, you can choose:
- Display or window — capture your entire screen, or just a single window.
- Webcam on or off — add a face cam if you want a more personal touch on your recording.
Pick whatever fits the session. If you use the webcam but decide later on not to use it, you can do so when you get to the editing panel.
Set your capture interval
This is the setting that matters most for how your final timelapse feels. The capture interval controls how often a frame is taken — for example, every 1 second or every 45 seconds — and it directly determines how much footage you'll have to work with.
A simple guideline:
- Short recordings (5–10 minutes): use a 1-second interval. Short sessions need a fast interval to build up enough frames for a watchable clip — at a slower interval, you might only capture a handful of frames total.
- A few hours at your computer: 10–30 seconds works well and keeps CPU usage lower over a long session.
- All-day or multi-hour marathons: push it out to 30 seconds or more.
The trade-off is CPU usage: a 1-second interval takes a frame constantly, which costs more CPU than a 30-second or 2-minute interval. Match the interval to the length of the session rather than always using the fastest setting.
Once you're happy with the interval, click Record and get back to work. You can pause, resume, or stop the recording at any time from the same menu bar icon — it'll show as unslashed while a recording is active as well having a green icon above inside the menu bar.
Edit your timelapse
When you're ready, stop the recording and click Export to open the editing window. This is where you turn raw captured frames into a styled, ready-to-share video.
Aspect ratio sits at the top — pick from 16:9, 1:1, 4:3, or whatever fits where you're planning to share it.
From there, the right-hand panel covers styling:
- Backgrounds — Lapser Studio ships with a set of pre-packaged backgrounds (solid colors, gradients, imaged and your own), with more being added in future releases.
- Foreground scale and corner radius — adjust how large your captured footage appears in the frame, and how rounded its corners are. Push the corner radius all the way and it becomes a circle; keep it modest for a softened rectangle.
- Webcam position, padding, and scale — if you recorded with your webcam on, choose whether to show it, where it sits, how much padding surrounds it, and its corner radius, independent of the main footage.
Export settings
Once your timelapse looks right, the export panel covers the technical settings:
- Resolution — pick what you need for where the video is going.
- File format — MP4 or MOV.
- Playback quality — Studio, Best, or Low. This affects file size, not export time: a shorter recording won't take longer to export at a higher quality setting, but it will produce a larger file.
- Export frame rate — this is where the capture interval comes back into play. If you don't have enough captured frames for the frame rate you've chosen, your estimated video duration can come out shorter than expected (or even show as zero) — another reason to capture plenty of frames for the length of session you're recording.
For frame rate specifically:
- 1 FPS produces a slideshow feel, where each captured frame holds on screen for a full second.
- 30–60 FPS looks smooth and polished for a typical timelapse — 60 FPS in particular looks great if you've got enough frames to support it.
Once everything is set, hit Export, choose where to save the file, and your finished timelapse is ready.
That's it
From menu bar click to finished export, the whole workflow takes just a few minutes to learn. If you have feedback, questions, or ideas, reach out any time — either in the comments on YouTube or by emailing hello@lapser.studio.
Ready to try it yourself? Lapser Studio is a $30 lifetime deal — pay once, use forever — and it's also available on the Mac App Store.